Toggle Nav

Night Photography Tips: How to Capture Stunning Night Scenes in South Africa
April 15, 2026
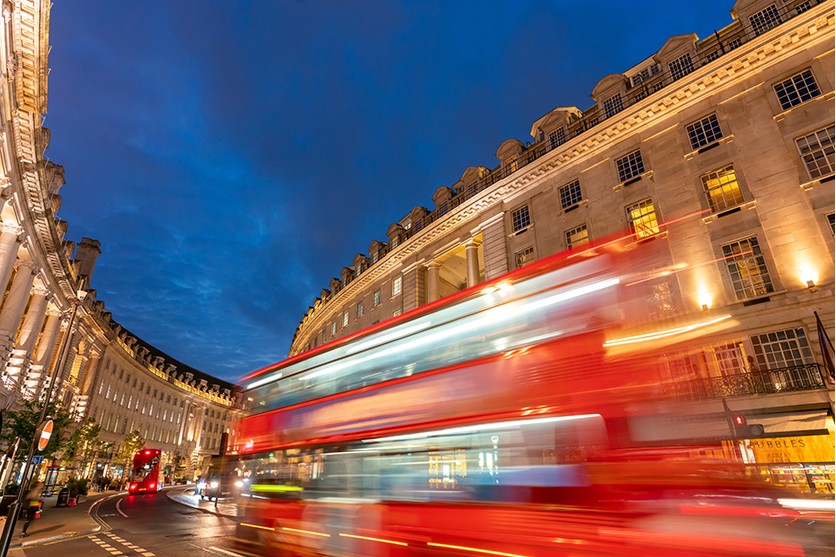
Night photography offers a completely different perspective compared to daytime shooting. As the sun sets, cities come alive with glowing lights, and natural landscapes transform into dramatic, moody scenes. Whether you're photographing the vibrant V&A Waterfront in Cape Town, the skyline of Johannesburg, or the quiet beauty of the Karoo under the stars, night photography opens up endless creative opportunities.
However, shooting at night can be challenging. Low light, strong contrasts, and mixed lighting sources require a solid understanding of camera settings and the right equipment. In this guide, we’ll share practical night photography tips to help you capture sharp, well-exposed, and visually striking images across South Africa.
Essential Gear for Night Photography Tips and Techniques
Choosing Lenses for Night Photography Tips: Wide vs Telephoto
Wide-angle lenses are ideal for capturing expansive scenes such as Cape Town’s skyline or the dramatic landscapes of the Drakensberg. They allow you to include more of the environment and create a strong sense of depth.
Telephoto lenses, on the other hand, are useful for isolating distant subjects. For example, you can zoom in on illuminated buildings in Sandton or capture details of distant lights across a valley.
Fast lenses with wide apertures (such as f/2.8 or f/4) are especially helpful in low-light conditions, as they allow more light into the camera and make it easier to achieve brighter exposures.
Why a Tripod is Essential for Night Photography
A tripod is one of the most important tools for night photography. Since you’ll often be using slow shutter speeds, even slight camera movement can result in blurry images.
In South Africa, where coastal winds in areas like Cape Town can be strong, a stable tripod is essential. It’s also useful when shooting on uneven terrain, such as rocky viewpoints or nature reserves.
Using a Remote Shutter for Better Night Photography
Pressing the shutter button manually can introduce slight vibrations, which may affect image sharpness during long exposures.
Using a remote shutter release or your camera’s self-timer helps eliminate this issue. This is particularly useful when capturing long exposure shots such as light trails from cars or reflections at the waterfront.
Night Photography Tips for Capturing Beautiful Nightscapes
Mastering Exposure in Night Photography
Night scenes often contain a mix of very bright and very dark areas. For example, city lights can be extremely bright, while surrounding areas remain in deep shadow.
To get a balanced image, avoid overexposing highlights while still retaining detail in darker areas.
Best Camera Modes for Night Photography
Aperture Priority mode is a good starting point for beginners. Manual mode offers full control and is ideal in complex lighting situations.
Aperture Settings in Night Photography
Using a smaller aperture (such as f/8 to f/11) can help create crisp images and produce attractive starburst effects from streetlights.
Shutter Speed Techniques for Night Photography
Slower shutter speeds allow more light and enable creative effects like light trails and smooth water.
ISO Settings for Clear Night Photography
Increasing ISO brightens images but may introduce noise, so balance is important.
Creative Composition Ideas for Night Photography
Framing Techniques in Night Photography
Use leading lines and foreground elements like harbour lights or Table Mountain.
Using Reflections for Better Night Photography
Capture Reflections at the V&A Waterfront or Durban beachfront
Creative Light Effects in Night Photographu
Experiment with traffic trails and urban lighting.
White Balance Tips for Night Photography
Adjust white balance for accurate or creative colour tones.
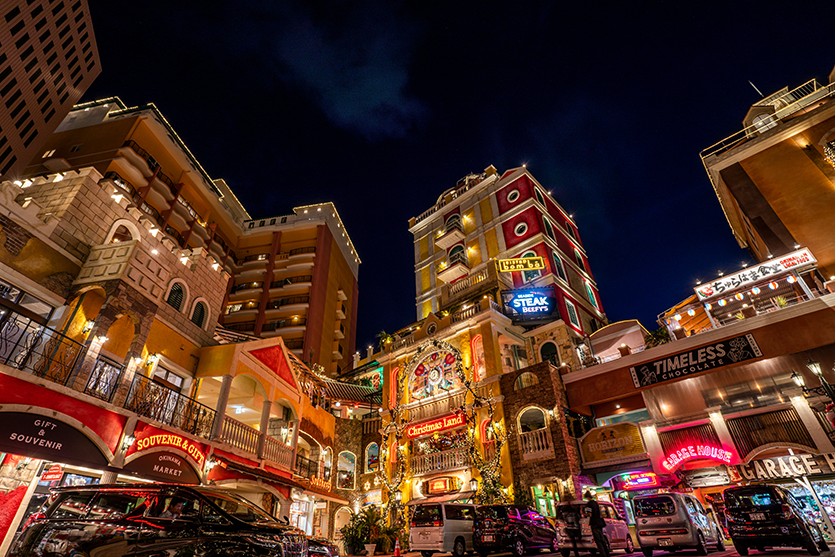
Night Photography Tips for Different South African Scenes
Cityscape Night Photography Tips in South Africa
Capture skylines in Cape Town and Johannesburg.
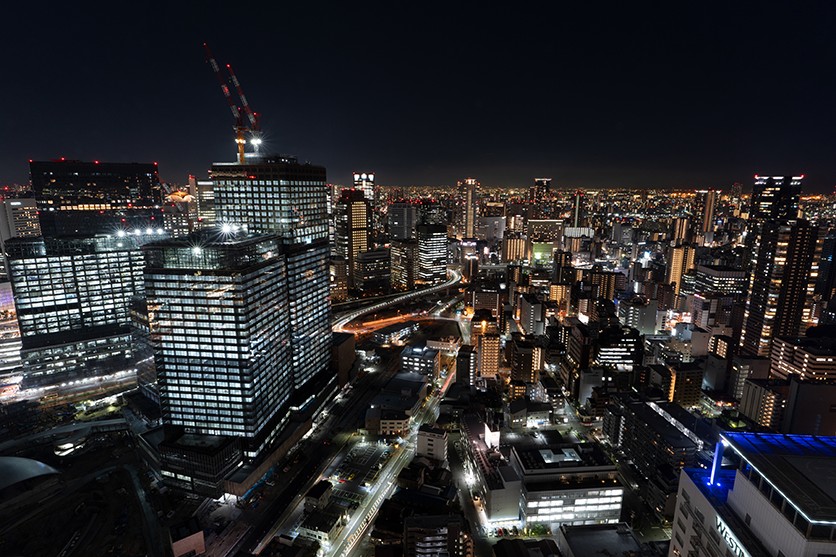
Photographing Illuminations with Night Photography Tips
Look for lighting displays and reflections.
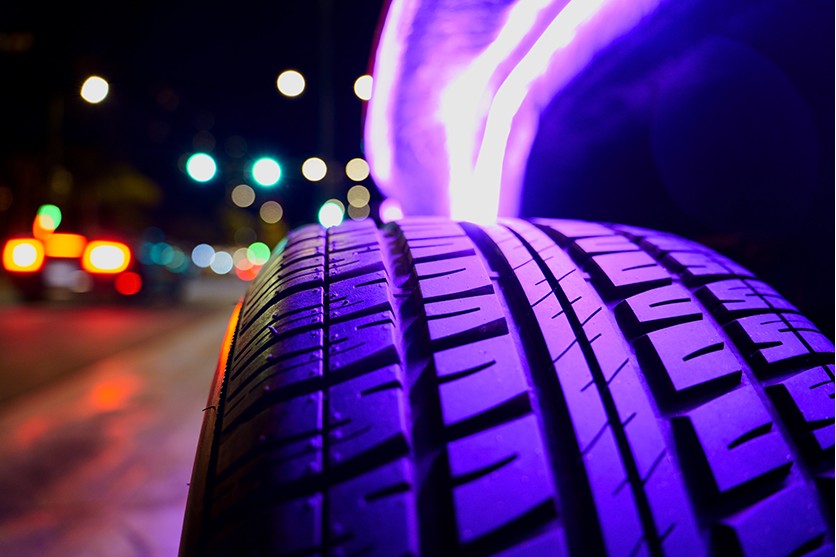
Capturing Motion with Night Photography Tips
Use slow shutter speeds to capture movement like cars and people.
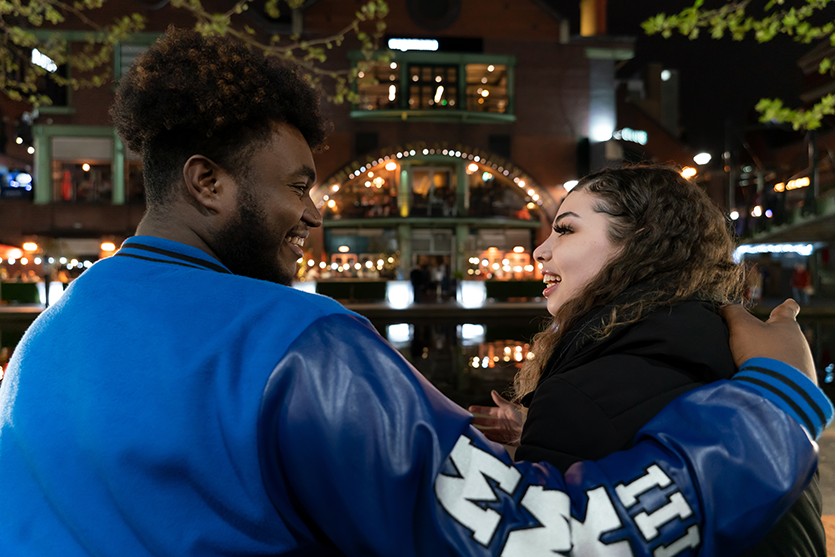
Night photography can be both challenging and rewarding. With the right gear and techniques, you can capture stunning images across South Africa.

Share on Facebook

Share on X

Share on Pinterest
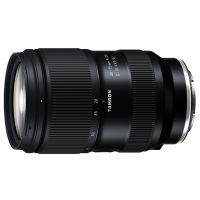
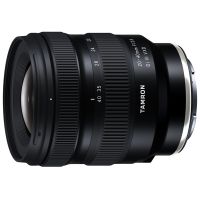
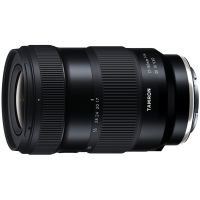
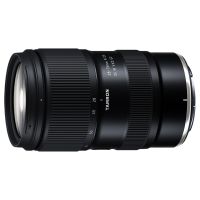
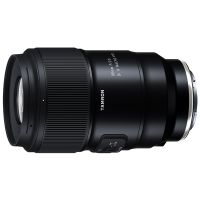
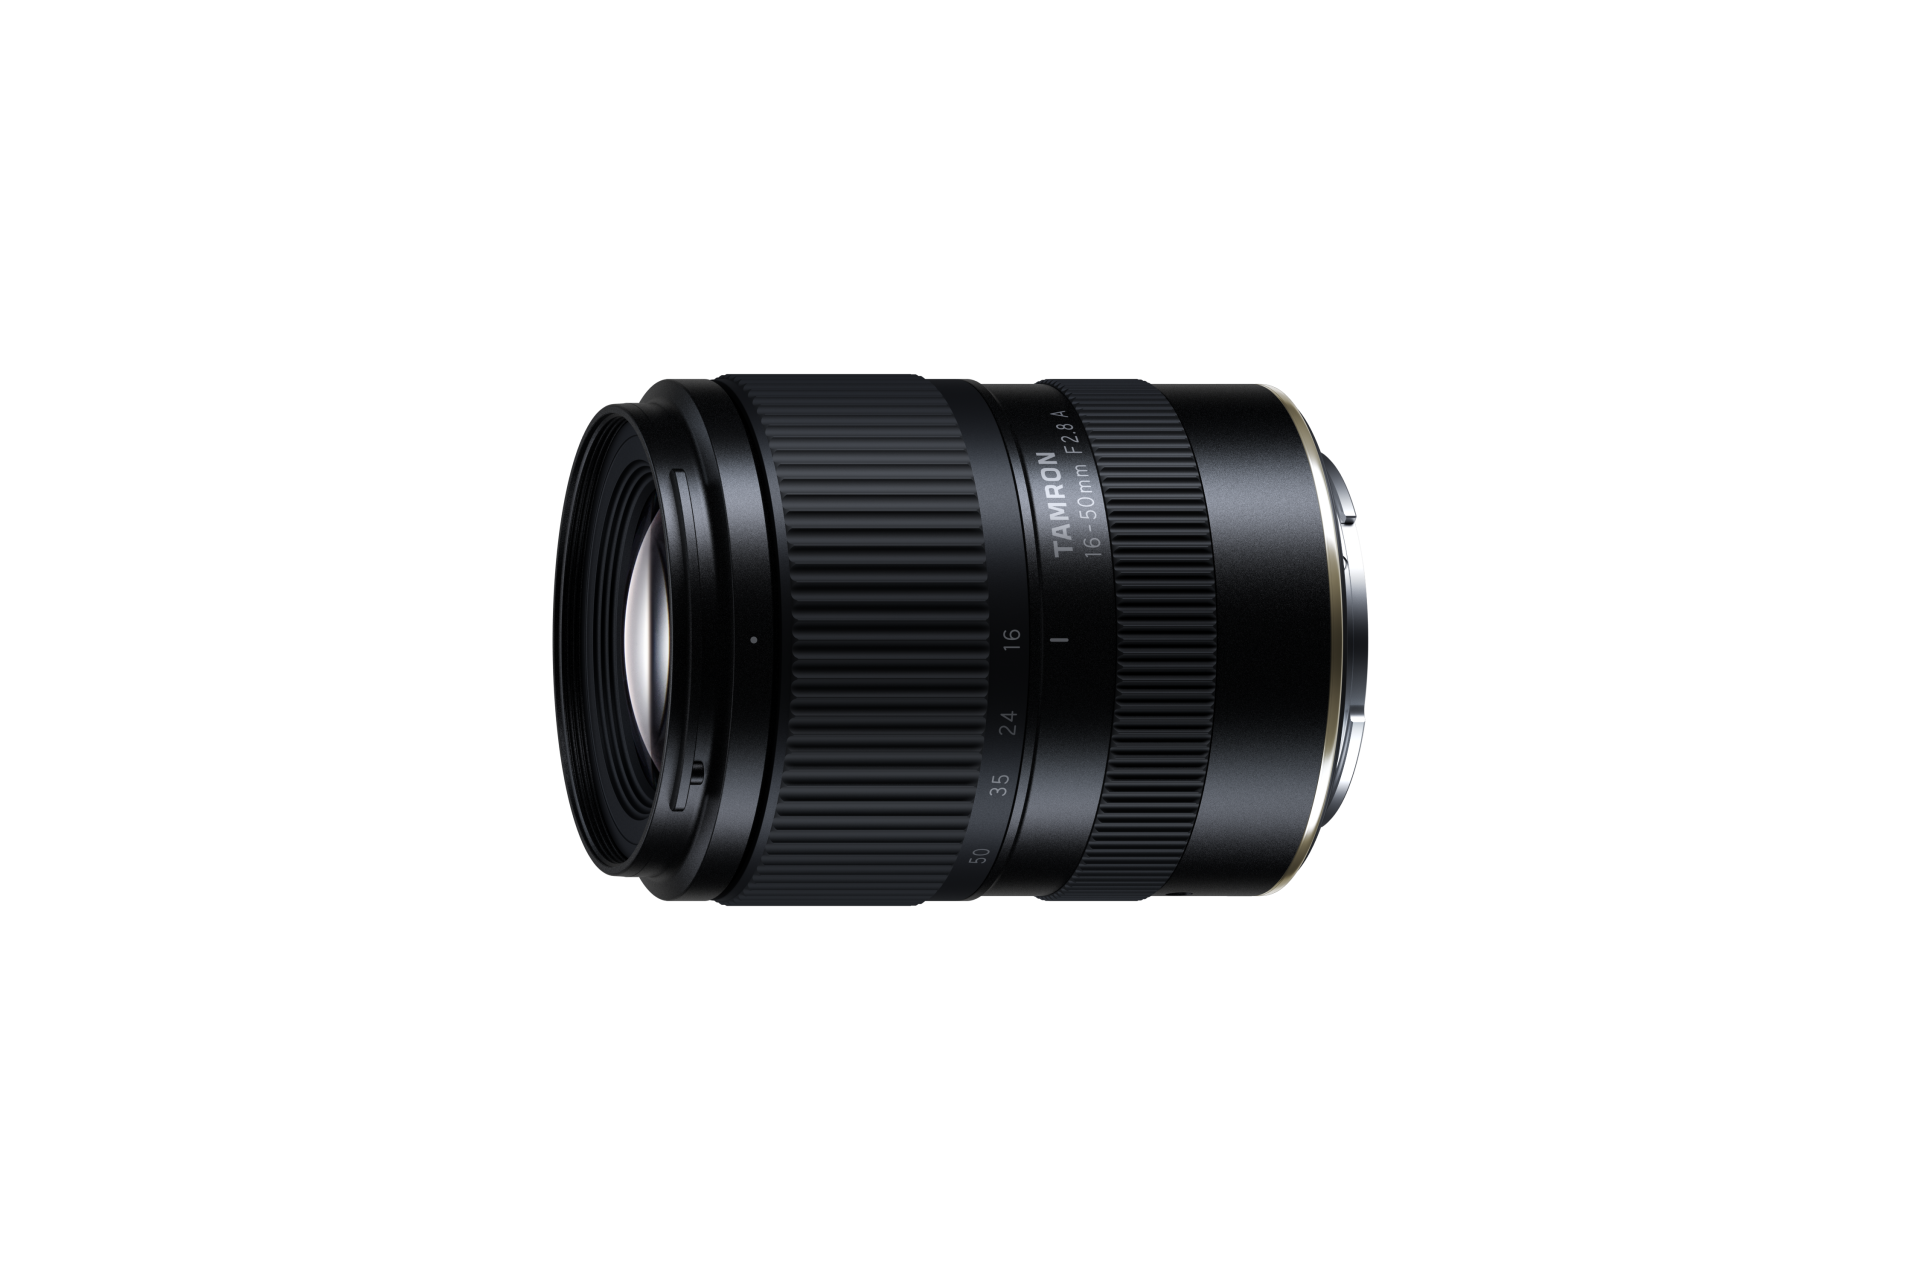
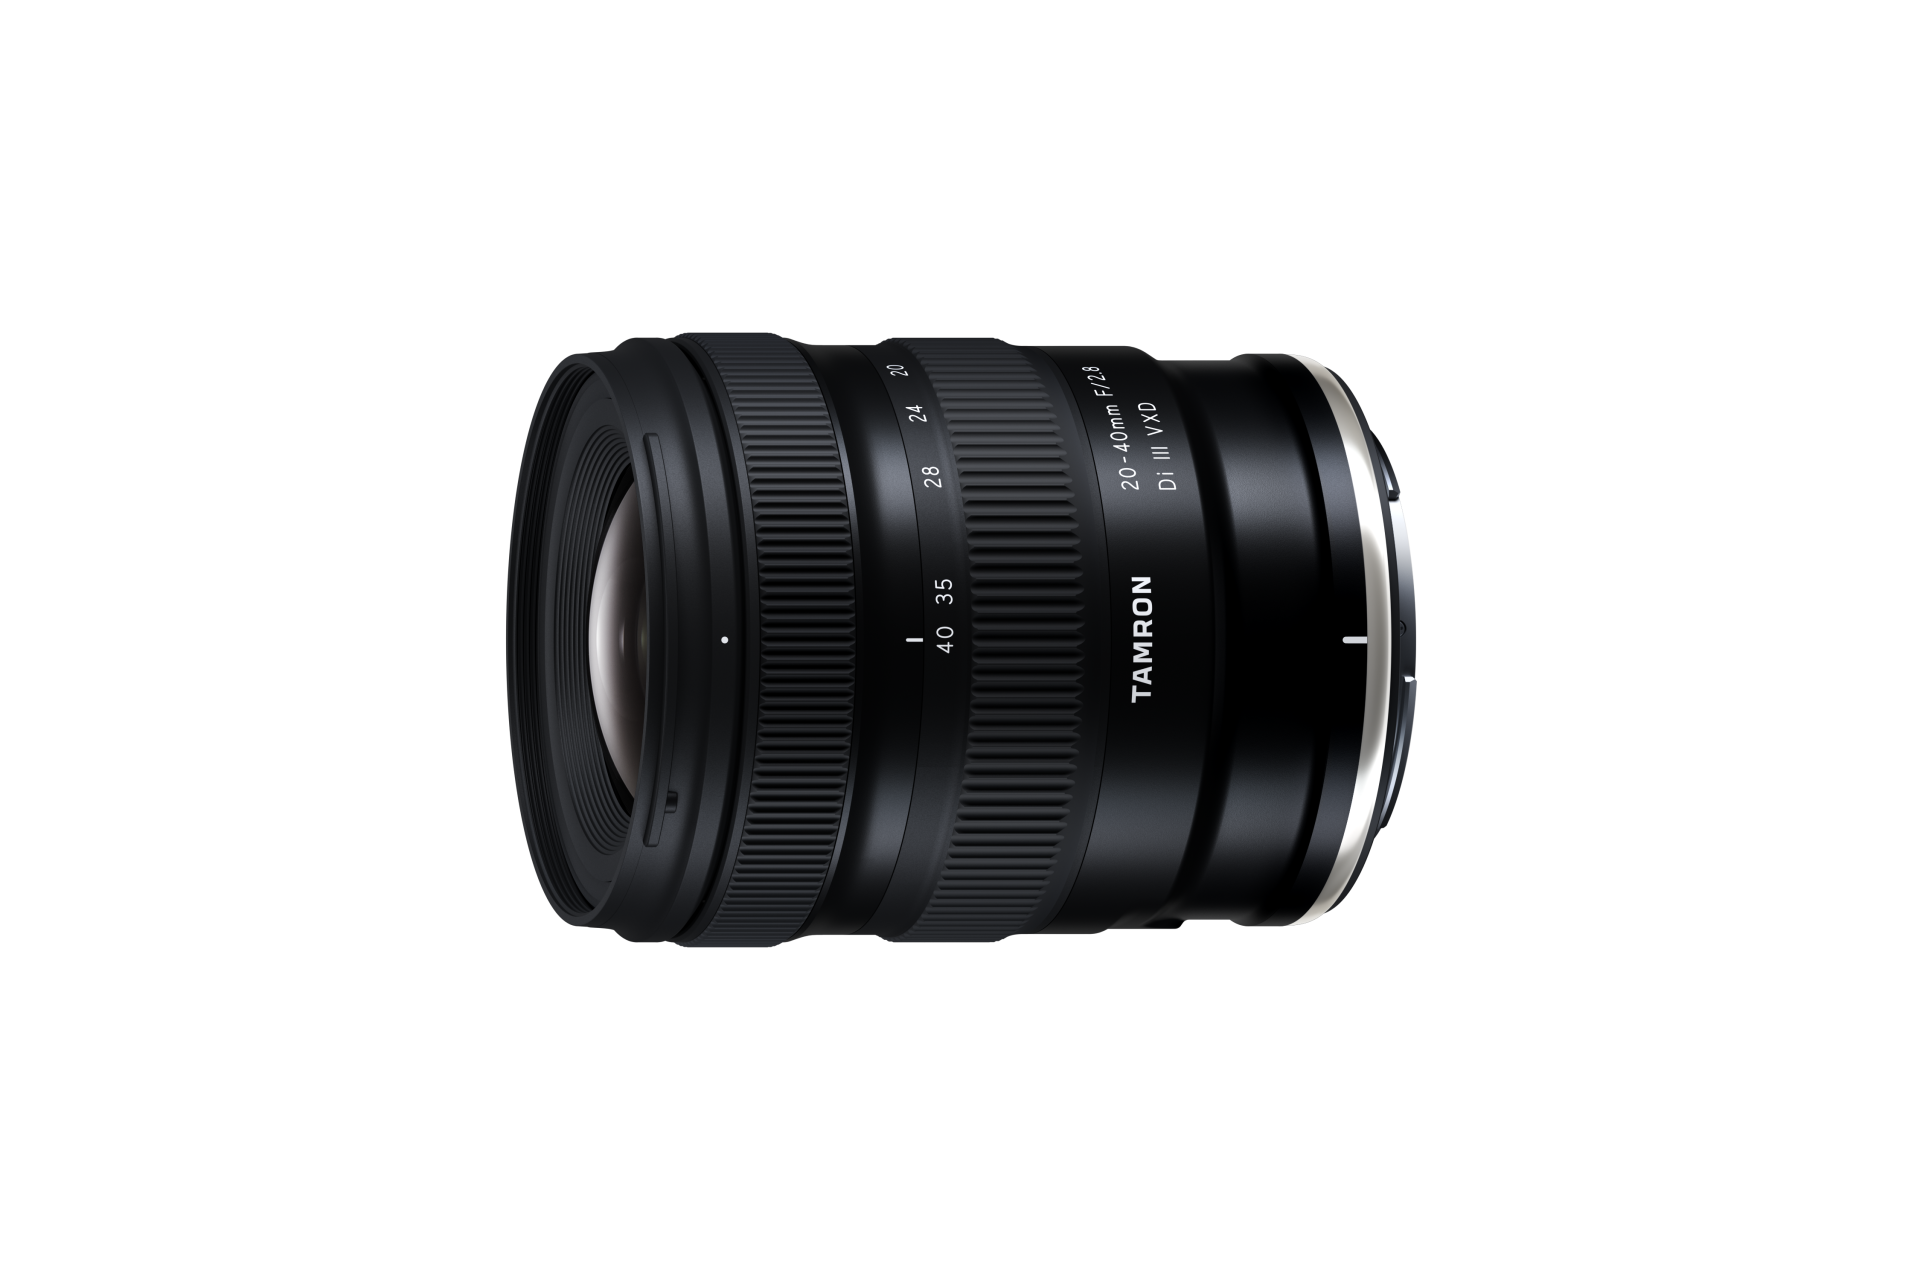
Lenses featured in this article
Comment(s)
Recent Posts
| September 30, 2026